Quickstart — your first pipeline
Build a working pipeline, add a buyer, test the routing and connect your lead source in about ten minutes.
Four steps get you live: create a pipeline → add a buyer → send a test lead → connect your source. The setup guide docked in the bottom-right corner tracks the same four and takes you to the right screen each time.
Signup asks what kind of leads you work with; the answer pre-fills your pipeline fields and the example below.
Try the example pipeline first
On your first dashboard visit, LeadMove offers to build a ready-made example: one source and two buyers on two tiers — for insurance, West Coast → Acme on tier 1 (leads whose state is CA, OR, WA, NV or AZ) and Everyone else → Beacon as a tier 2 catch-all. A guide runs three sample leads through it and shows where each lands and why. The example buyers deliver to your own email address, so nothing goes to anyone else. "Build my own" discards it.
1. Create your pipeline
Pipelines → New pipeline. Name it after what you sell (Auto Insurance — California) and confirm its fields. Email is required by default; the rest are pre-filled from your vertical and editable.
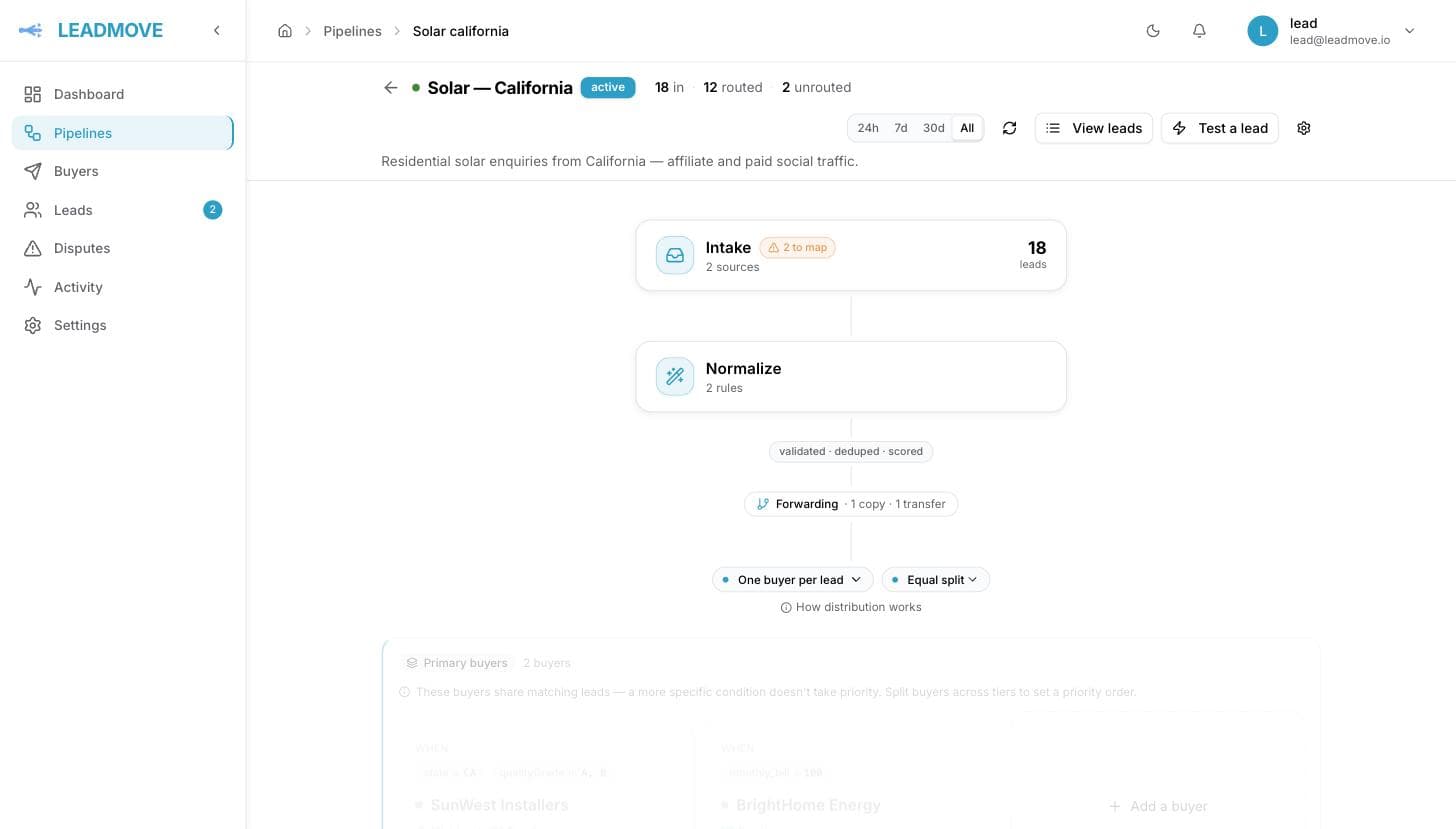
It worked when: the pipeline canvas opens, with an Intake block on the left and an empty buyers area.
2. Add a buyer
From the canvas, click Add a buyer: pick or create the buyer (name + delivery email), set the conditions deciding which leads it gets (leave empty for "everything"), then choose the delivery method — email, webhook, Google Sheets or SMS.
A buyer created here goes live immediately: it already has an email delivery method pointing at the address you typed. Buyers created from Buyers → New buyer start paused instead, and go live from the setup checklist on their page — distribution only ever considers active buyers, in the test console as in production. See Adding buyers.
It worked when: the buyer appears on the canvas, linked to the intake by a rule showing its tier and conditions. More on matching: How distribution works.
3. Send a test lead
Open the test console from the canvas, fill in a sample lead and run it. It's a dry run — nothing is delivered. You get the buyers that matched, the rule that picked each, why the others were excluded, and a preview of the exact payload each endpoint would have received.
It worked when: at least one buyer is listed as matched. If none are, the diagnostics name the reason — a condition that failed, or a buyer still paused because its setup isn't finished.
4. Connect your lead source
Open the Intake panel. Each source has its own posting URL ending in /api/i/{source-key} — paste it into your form tool, vendor dashboard or CRM. No header or API key to send; the key is in the URL. Create one source per vendor so you always know where a lead came from.
Field names are matched case-insensitively, ignoring spaces, underscores and dashes: first_name, First Name and firstName all land on the same field. Anything unmatched shows in the panel to map or ignore. Not ready? Import a CSV or add a lead by hand from the same place.
Some sources can't POST to a URL by themselves — Meta instant forms are the common one. They connect through a bridge: Meta lead ads.
It worked when: your first real lead appears in Leads as routed. Reading that status: Lead statuses explained.
Common questions
Will testing send anything to a real buyer? No. The test console previews deliveries, it never sends them.
Do test leads count against my plan? No. A test lead isn't kept in your leads list, isn't counted in your monthly quota and is never billed.
My lead came in but no buyer got it. It landed as unrouted: no rule matched, or every matching buyer was capped or closed. The lead's routing trace names each buyer considered and why it was excluded.